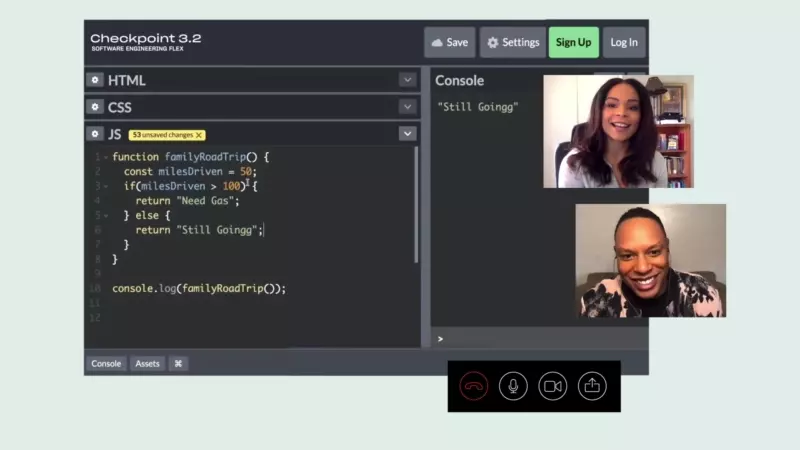
These free mini-courses will give you a strong foundation in web development. Track your progress and access advanced courses on HTML/CSS, Ruby and JavaScript for free inside our student portal.
Scroll down...
It can be frustrating to make sure everything is installed on your computer so you can get developing. But if you're interested in being a web developer you will need to get this stuff up and running on your machine at some point and it's best to get it done early. This assignment will have you install everything you need so we can get it over with and move on to the good stuff.
We want to make sure you have some idea of what you're doing, so we've included brief descriptions of what you'll be installing below. It's okay to go a bit cross-eyed since you'll be installing lots of stuff, but hopefully you can refer back to the descriptions below to help understand what's going on.
If you get stuck during the installation process, don't give up! Sign up for a meetup to find an experienced programmer who can help you and Google the error messages to troubleshoot the installation.
We've already covered what the overall difference is between back end (server-side) and front end (client-side) programming, but you'll see it manifested again in how you install the necessary software. Because the client-side code runs in the browser, all you really need to write some HTML, CSS and JavaScript is a web browser like Chrome, Firefox or (shudder) Internet Explorer.
Websites like CodePen and JSFiddle let you create small but dynamic webpages right in your browser. They will become a bit cumbersome when you try to build more meaningful projects, which will require you to start writing more in your text editor, but are perfectly fine for doing smaller exercises. The lack of any complicated installations is one reason that front-end programming is more accessible for beginners to try out.
Server-side code is a bit different -- because each programming language (like Ruby or Python or even server-side JavaScript) is a different animal, you need to actually install that language onto your computer. With Ruby, you will be installing the Ruby interpreter just like any other program. When you "run" your Ruby code, you are actually using the Ruby program. In principle, this shouldn't add too much additional complexity, but it is an extra step from just running simple text files in your browser.
Another reason things get a bit more complicated on the back end is because programmers do more than just feed a text file full of code into a program -- they also want to be able to handle running different versions of Ruby at the same time (perhaps to work on an older website one day and a newer one the next) and ultimately to deploy those websites up to their chosen web server. Each of these workflow improvements requires another program to help out with managing it.
So, at its core, server-side installs with Ruby are just you installing the Ruby interpreter on your machine and a couple of extra things to help manage your workflow. It just seems like a lot of different things when you're unfamiliar with what each one is doing. We'll give you a brief description of each thing below and then you'll get a chance to do the installations on your own.
A final note to Windows users -- you can install everything you need to but you'll feel at times like you're swimming against the current. Many examples throughout the learning process will assume you're working on a Mac and you'll have to get good at translating certain steps into your own workflow. Suffering builds character. And this is payback for the 90's when it took another six months to come out with a Mac version of any half-decent game.
Your best bet may be to try using Linux (admit it, you've been curious...) or to use a hosted environment like Cloud9. Not a requirement, just a friendly tip.
Luckily, it's all free. You'll be installing each of these using the tutorial below, but first here's a brief word about each item:
Actually, we won't need to install any of these -- they come with your web browser already! In later courses, you may actually start using JavaScript on your computer as a server-programming language (Node.js), but for now you've got nothing to worry about with these three.
Ruby is the back end language we'll be using to write our server code. The Ruby interpreter is a program like any other and so you'll need to make sure it's installed on your computer and you've got the right version (there are some big differences between, say, version 1.8.7 and 1.9.3 or 2.x).
Git, the version-control system you've read about, is another tool that requires a brief install. You'll also be asked to create your Github account, which is very important because it'll host your portfolio. When people visit your repo on Github (if it's public), they see all the source code files you've uploaded.
Heroku is the cloud hosting service which we'll be using to take our web applications "live". In some ways it acts sort of like Github because you will be pushing your code to Heroku in an almost identical way, but it's performing a very different function. Where Github keeps repositories of your source code, Heroku actually runs that code on a server for you so your application can be visited by users. Heroku requires a couple of helpful tools to be installed to make your life easier during the deployment process.
We recommend using the Atom editor to make sure you'll all be able to work together and ask questions of each other without that getting in the way. Atom also has lots of handy shortcuts, code highlighting and other nifty features that'll make your life easier, and that's just on the surface.
There will be some Ruby gems (which are just prepackaged little libraries of code) to install to give you the tools necessary to talk to your database and install other gems easily in the future.
RVM ("Ruby Version Manager") is a way of making sure that each Ruby or Rails project on your computer is treated independently of each other one. It allows you to install multiple versions of Ruby and multiple versions of Rails or any other gem on your computer and then you can choose which set to use for a given project.
This is very useful because you'll sometimes work on a project using an older version of Ruby (say 1.9.3) but simultaneously working on other projects using the newer version (2.0.0). Since you obviously don't want to uninstall and reinstall Ruby each time, RVM just lets you say which gemset you want to use for a given project and PRESTO! your problems are solved.
What about Rails? Rails is actually a Ruby gem of its own since it's really just a bunch of Ruby code prepackaged for you. You "install" it by downloading the rails
gem.
XCode is Apple's integrated development environment for creating Mac, iPhone and iPad applications. Even though we won't be using it for that purpose, it's also got some command line tools that you'll be using so you're probably going to have to install it all (it's a giant package).
These installfests will take you through the steps to install everything on your computer. It will probably feel like you're doing a whole bunch of things that don't really make sense and moving way too quickly. Hopefully you've got a basic understanding of what you're about to install, but it's also not super important that you know exactly what's going on or what all the commands mean. You'll get more familiar with things over time.
It's guaranteed that you'll run into some sort of issue, probably involving permissions or file ownership. That's normal -- Google the error messages and power through it!
$ ruby -v
on your command line (ignore the $, it stands for the prompt) should output something that includes 2.0.0
or a similar number. $ rails -v
should give you something like 4.0.0
.If all else fails, the best web-based development environment to use for coding the back end is Cloud9. It's free* to use and gives you a brand spanking new Ruby and Rails setup to start coding with. You can even integrate it with your text editor and work collaboratively with other people.
We've often found this to be much easier for Windows users than trying to navigate the regular installations process. It relies on having an internet connection, but it gives you a command line, a text editor, and the ability to run a local server right out of the box.
So your alternate path is to go to [Cloud9 and set up your account. You'll be given enough free "credits" to keep a virtual development environment running full time. The instructions on the website are fairly straightforward. You can get your text editor and terminal up and running in a couple minutes. Plus, it works with Git!
If you've run into issues with your installation and are desperately looking for something else to try, take a deep breath first and go back over the instructions step-by-step to make sure you've followed them properly. You can run into some odd issues if you start trying to mix together different installation recommendations, because some of them use auto-installers and have you install things in slightly different places so you may end up with a couple copies of key components. It may work fine on the surface, but some day it'll probably come back and frustrate you again. But, if you must, here are some other people's installation recommendations: